

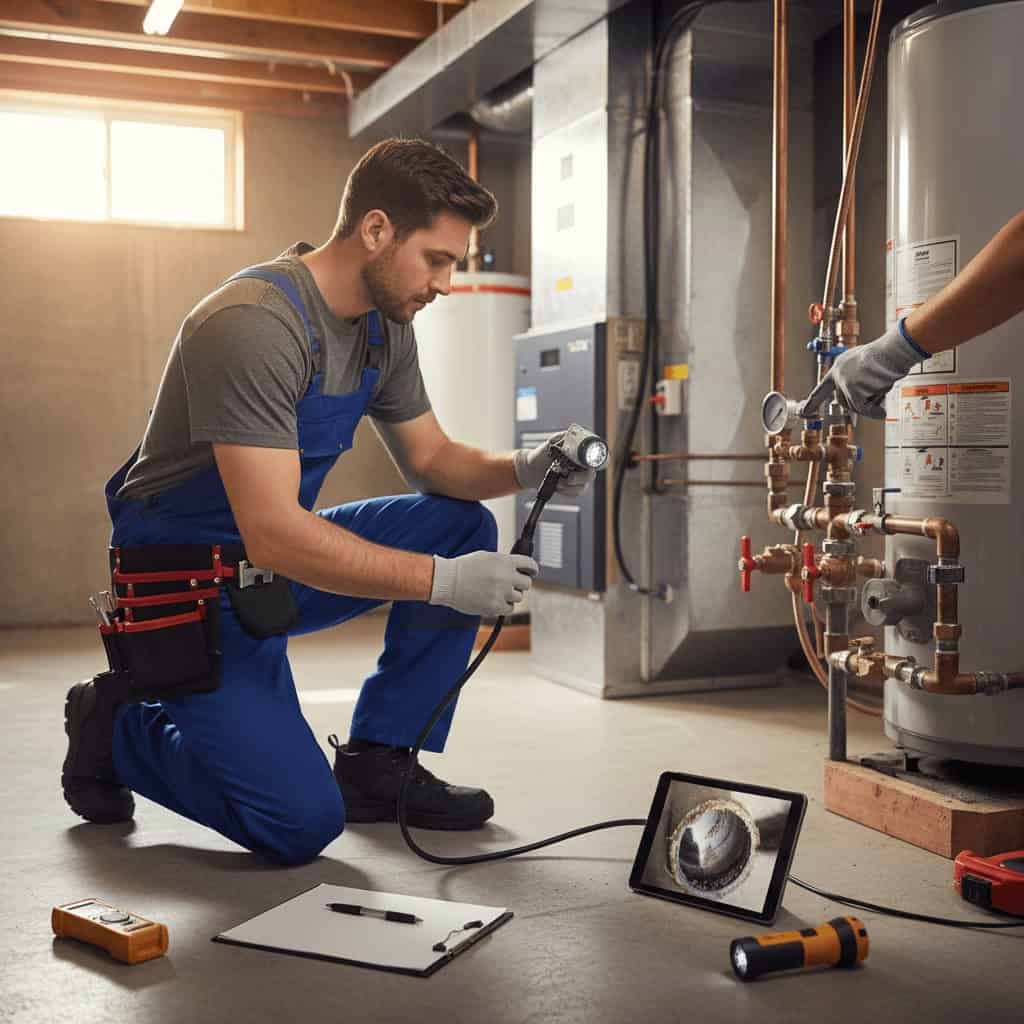
When a plumber walks into your home to perform an inspection there is a method to the visit and a clear goal. The technician will look for signs of current leaks, potential failures, and small problems that can grow into expensive repairs. That routine may feel like a mystery if you have not watched a professional work before. This article lays out what typically happens during a plumbing inspection so you can follow along, ask the right questions, and get more value from the visit.
Reading through the steps and common findings will help you spot what matters most and which issues need prompt attention. You will also learn which tests and tools are used, how long the process usually takes, and practical steps you can take to prepare. Use the guidance here to be ready for a discussion with your plumber about next steps and costs.
Initial walkthrough and visual assessment
Most plumbing inspections begin with a walkthrough of visible fixtures and plumbing runs. The technician will check sinks, toilets, tubs, showers, faucets, and visible pipes in basements and utility rooms. They look for signs such as water stains, mineral buildup, warped trim, and mold growth. These clues quickly point to slow leaks or recurring moisture problems.
Expect the plumber to open access panels and peek under cabinets. They may run taps and flush toilets to observe flow, listen for unusual sounds, and note how quickly drains clear. If you have had recent repairs or have areas that worry you, point them out at the start. A clear description from you often speeds the assessment and helps the inspector concentrate on likely trouble spots.
Systematic checks of supply and shutoff components
A careful inspection covers the supply side of your plumbing. The plumber will test water pressure at faucets and at an external hose bib. Low pressure can point to partially closed valves, clogged aerators, or pipe corrosion. High pressure has its own risks and can be mitigated with a pressure reducing valve.
The inspector will identify the main shutoff valve and any secondary shutoffs for water heaters, irrigation systems, and appliances. They may operate those valves to confirm they function. Valves that are stuck or leaking are flagged because access to a working shutoff is critical in an emergency. The inspector will also check visible pipe materials and note any signs of aging or chemical attack.
Water heater and appliance inspection
Home water heaters, dishwashers, washing machines, and other appliances are common sources of leaks and failures. During an inspection the technician will look for corrosion at connections, test the pressure relief valve on the water heater, and check the discharge lines. They will verify venting for combustion appliances and measure temperature settings when applicable.
Appliance checks include observing cycles on washers and dishwashers to confirm proper draining, looking at supply hoses for cracking, and testing for proper shutoff operation. Older flexible hoses often fail without warning and are inexpensive to replace, so inspectors frequently recommend replacement as a preventive step.
Drain, sewer, and vent assessment
Clogged or slow drains are common complaints. An inspector will run water in multiple fixtures and watch how quickly it drains and whether any unusual gurgling occurs. Gurgling can indicate venting problems or partial blockages further down the line.
Video camera inspection for sewer lines
For homes with recurring backups or where the sewer line route is unclear, the plumber will often use a video camera. The camera travels through the line and records root intrusion, collapsed sections, joint separation, and grease buildup. The footage documents the condition and helps decide whether localized repair or full replacement is needed.
Vent stack and roof penetration checks
Vents on the roof must remain clear for drains to function properly. Inspectors will look for animal nests, debris, or cracked vents during the external portion of the check. A blocked vent can produce slow drainage and sewer gas smells inside the home.
Leak detection techniques and hidden problem discovery
Not all leaks are visible. Plumbers use a variety of methods to find hidden water loss. One basic test is reading the water meter before and after a period of no water use. A moving meter when all faucets are off points to a leak somewhere in the system. From there the technician narrows the search.
Acoustic and infrared methods
Sensitive listening devices pick up the sound of water moving through pipes behind walls. Thermal imaging highlights cool spots caused by moisture when compared to the surrounding dry areas. These tools are especially valuable when the leak source is behind finished surfaces and homeowners want to avoid unnecessary demolition.
Dye tests and pressure tests
Dye placed in a toilet tank or a sink trap can confirm whether two fixtures are connected by a hidden leak path. Pressure tests help confirm the integrity of closed systems such as irrigation lines or certain segments of household piping. If pressure drops during a test the plumber can isolate the segment and search for the failure location.
Documentation and pointing out priorities
A useful inspection will come with a written report or a photo log. The plumber should list issues in order of urgency and include clear recommendations for repairs and next steps. Expect to get cost estimates for immediate fixes and for work that can be planned for later.
Prioritization matters. A dripping supply line behind a finished wall is often urgent because water can cause mold and structural damage. A slightly worn aerator on a kitchen faucet is a low priority and inexpensive to replace. Proper documentation helps you decide what to fix now and what to schedule in the months ahead.
Typical duration and factors that affect time
Most standard inspections take between 60 and 120 minutes. The size of your home, the number of bathrooms, and the presence of finished basements or crawlspaces all affect timing. If the inspector needs to perform video camera work or extended leak detection the visit can take longer.
Access is another factor. Locked utility closets, pets that cannot be contained, and cluttered crawlspaces slow down the process. Providing clear access and any useful paperwork about past repairs makes the visit smoother and often reduces the total time required.
Cost factors and the value of early detection
Inspection fees vary by region and by the depth of the inspection. A basic visual check is less expensive than a full diagnostic visit that includes camera work and advanced leak detection. Keep in mind that the cost of an inspection is usually small compared with the expense of repairing water damage or replacing an entire sewer line after a catastrophic failure.
Scheduling a regular whole home plumbing checkup can help homeowners catch slow leaks and failing components before they lead to major expenses. The single link here points to a service page for homeowners who want a full assessment and a clear list of recommended actions following the visit.
Examples make this concrete. A small unmanaged leak left for months can rot a support beam and lead to a repair bill many times the cost of a professional inspection. Replacing an aging water heater proactively during a planned upgrade is often cheaper than paying for emergency replacement after a sudden failure that floods a laundry room.
How to prepare and what to ask during the visit
Before the plumber arrives gather recent maintenance receipts, note where you have seen stains or odor, and clear access to appliances and crawlspaces. Turn off sprinklers and stop drinking from faucets that will be tested during the visit. If you have a pet that might bother the technician put it in a secure location.
- Ask the inspector to show you the main shutoff and any secondary valves
- Request photos or video of any defects found during the inspection
- Ask for cost estimates separated into urgent and non urgent items
- Request written recommendations for routine maintenance you can perform
It is reasonable to ask for a simple explanation of how a recommended repair will be done and how that choice compares with alternative repair methods. Knowing whether a repair is temporary or permanent helps you budget and plan for the work.
Summary and next steps with an action prompt
A plumbing inspection is a discovery process that reduces uncertainty. The technician looks at supply and drainage systems, tests water pressure and valves, inspects appliances and the water heater, and uses cameras and leak detection tools when needed. Good inspections come with clear documentation and prioritized recommendations so you know what to act on first.
Take a few practical steps before the visit to save time and money. Clear access to utility areas, gather past repair records, and note any problem spots. During the inspection ask for a written report, visual evidence of issues, and a simple timeline for repairs. If you want a full assessment for your house consider scheduling a comprehensive evaluation through a local service to get a complete picture of the system and a plan for maintenance and repairs.
When you are ready to move from inspection to repair choose a licensed plumber who communicates clearly, provides written estimates, and offers a warranty on work performed. That approach gives you control over the process and minimizes the likelihood of surprises. Call or book online and mention the specific items you want checked so the technician arrives prepared. Taking these steps now can prevent headaches later and keep your home running smoothly.